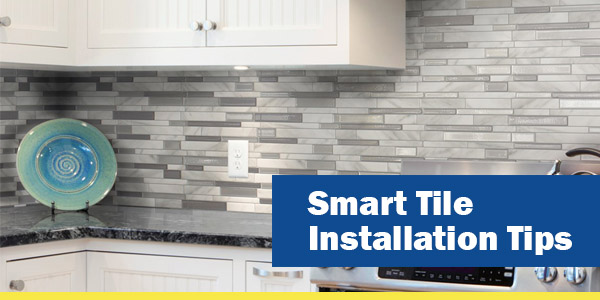
How To Install Smart Tiles | Tips and Tricks

Choose the Correct Surface
The ideal wall surface to install smart tiles on is painted drywall. Do not install on Plywood, Brick, or unpainted drywall - Smart Tiles can fall off these surfaces over time. A back-splash that peels off over time is not the outcome we're looking for.
Prepare your Wall
Clean your wall with a Heavy-Duty Cleaner & Degreaser Solution (TSP). Allow the wall to completely dry before installing smart tiles.
Mark your Guidelines
Use a chalk line and level to snap a guideline across your wall. your countertop as it may not be straight, which would result in an un-level back-splash.
Measure and Cut
Use a metal ruler with a cork back to draw your cut lines - The cork back ensures the ruler stays in place and lines are accurate and straight. Also use a Carpenters knife to measure and cut tiles.
Start in a Corner
Start your backsplash in the "L" shaped corner of your kitchen. This ensures you start your back-splash on;a straight cut and that it's in the least visible part of your kitchen.
Peel and Stick
Peel the backing off the smart tiles and place on surface. Place a light pressure on the tile to ensure it's in place.
